
Getting Started
Create a project from the launcher and open it in the workspace.
This guide creates an empty project from the launcher. Studio then opens the workspace with Main Page ready in the UI editor.
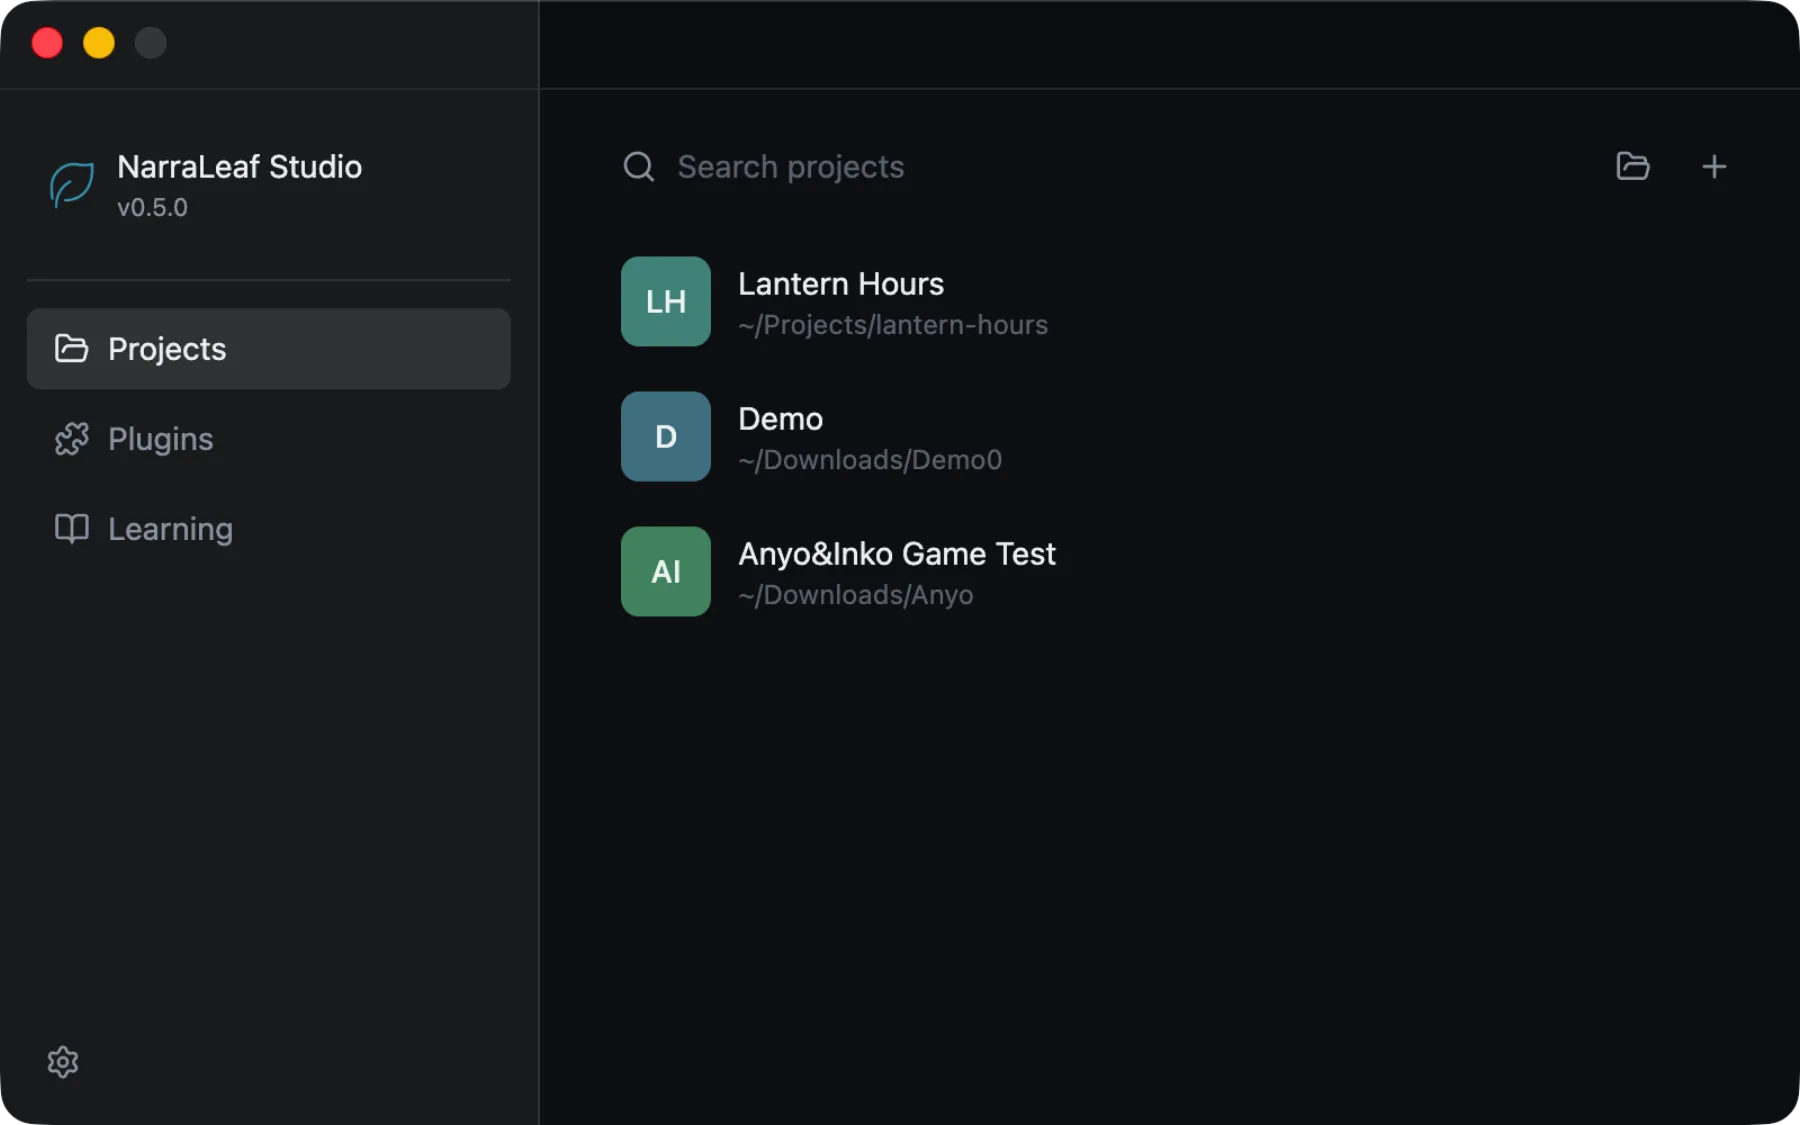
Create a project
Open the wizard
On the launcher's Projects page, choose Add Project.
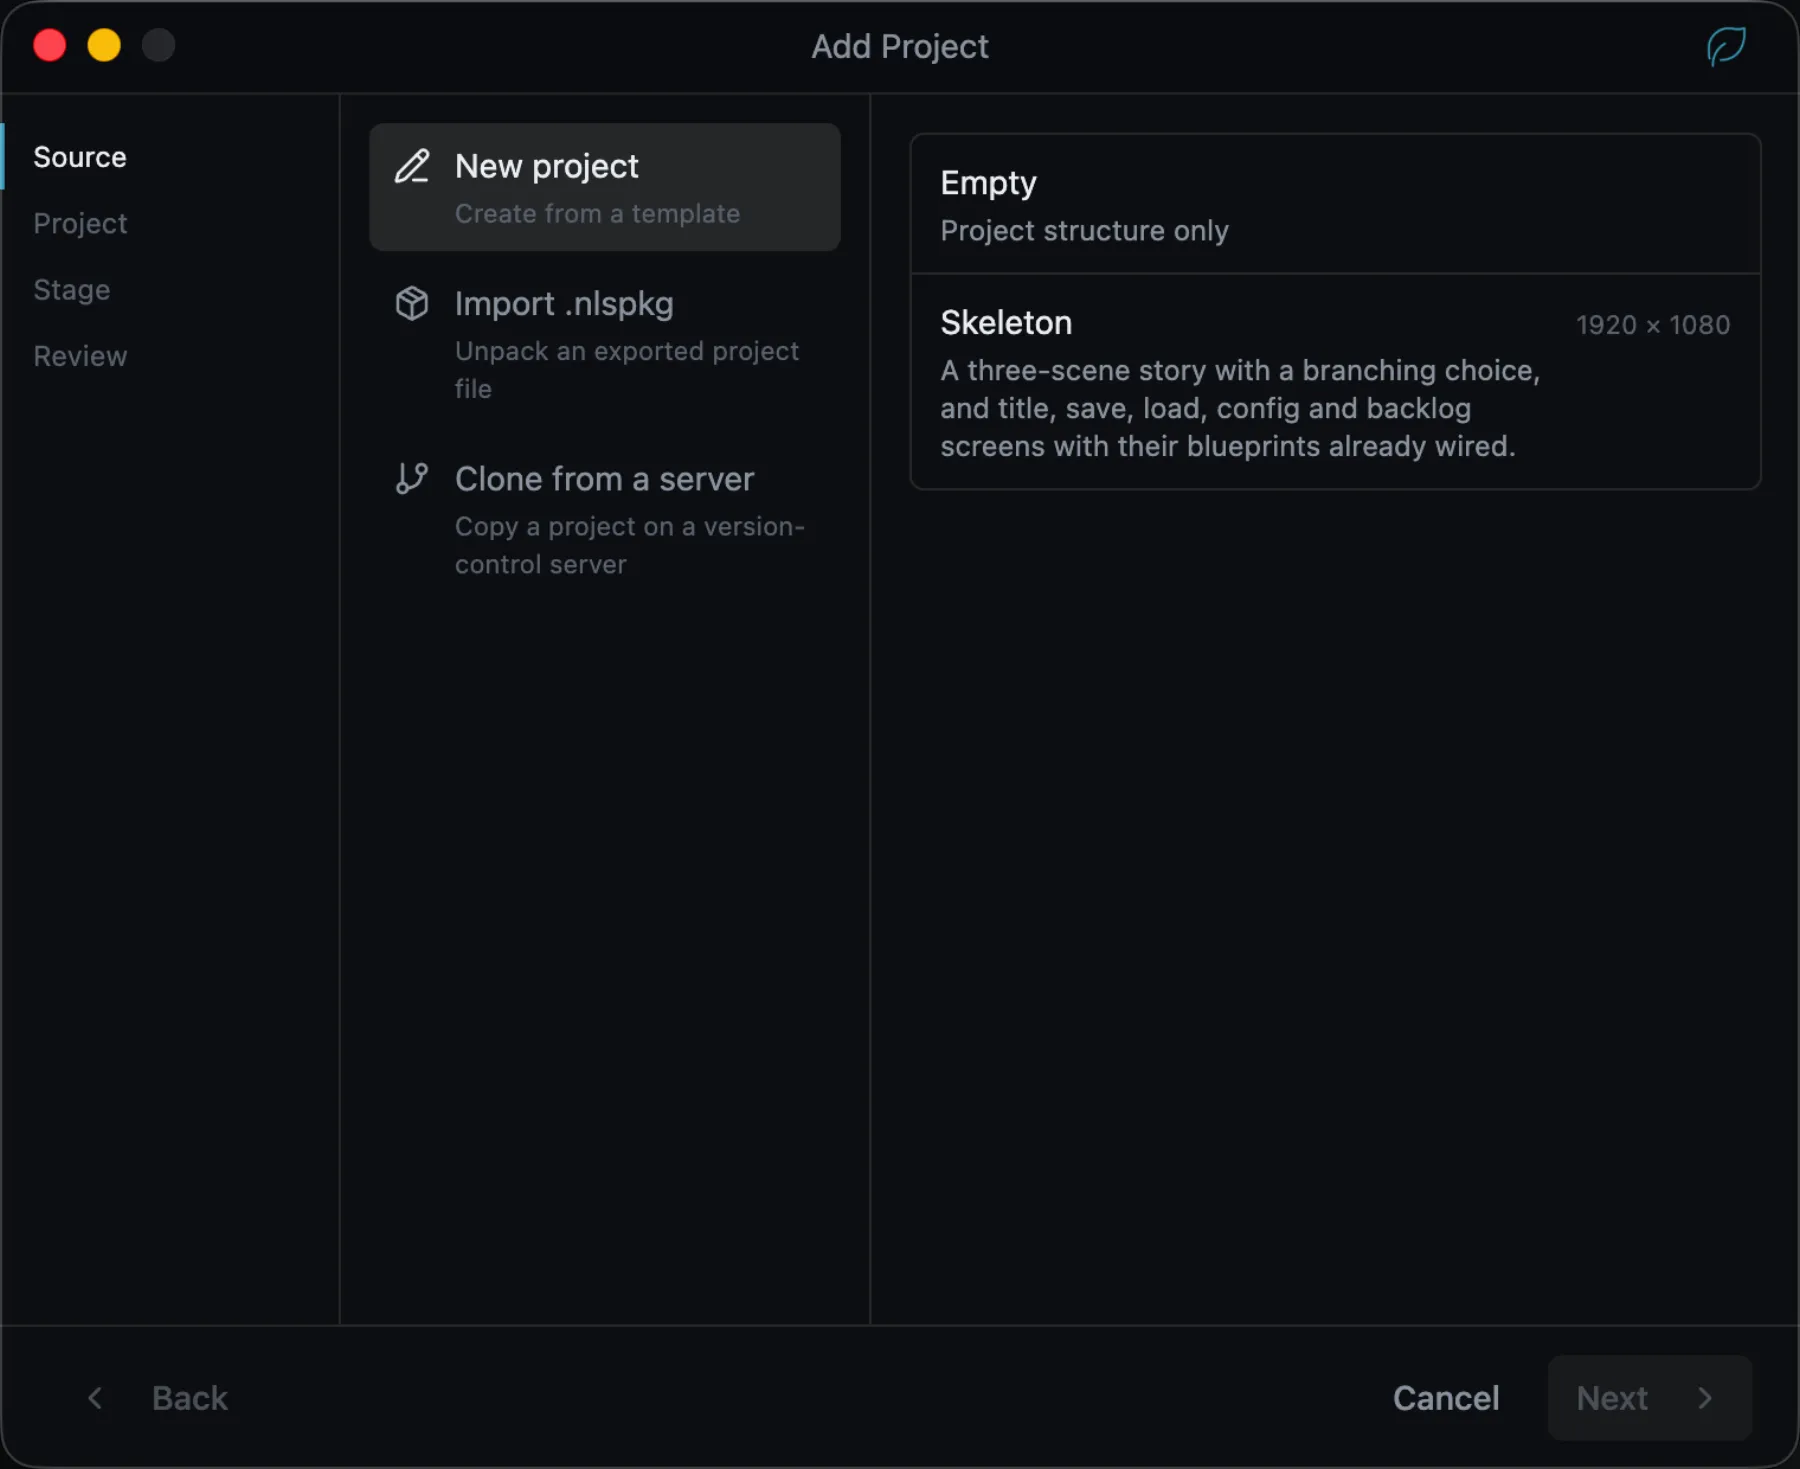
The wizard has four steps: Source, Project, Stage, and Review.
Choose a source
Choose New project, then the Empty template.
The same step also imports an exported .nlspkg file and clones a project from a version-control server.
Enter project details
Provide:
- Project Name, also the default product name.
- App ID, lowercase letters, digits, and hyphens only. It cannot be changed after the project is created.
- Location, an empty directory or a path that does not exist yet. Studio does not create a project in a non-empty directory.
Turn on Version Control to record the project's history inside the project folder. Author, license, and description can be completed later.
Set the stage
Choose a Stage Size, the reference size for Game UI and the runtime view, and a Script Language, the language the story is written in. Further languages are added later in the Localization panel.
Review and create
Check the entries on Review, then choose Create Project. Studio opens the workspace when the project is ready.
First open
The UI editor opens Main Page, the project's entry page. Use it as the title screen, or create further pages beside it.
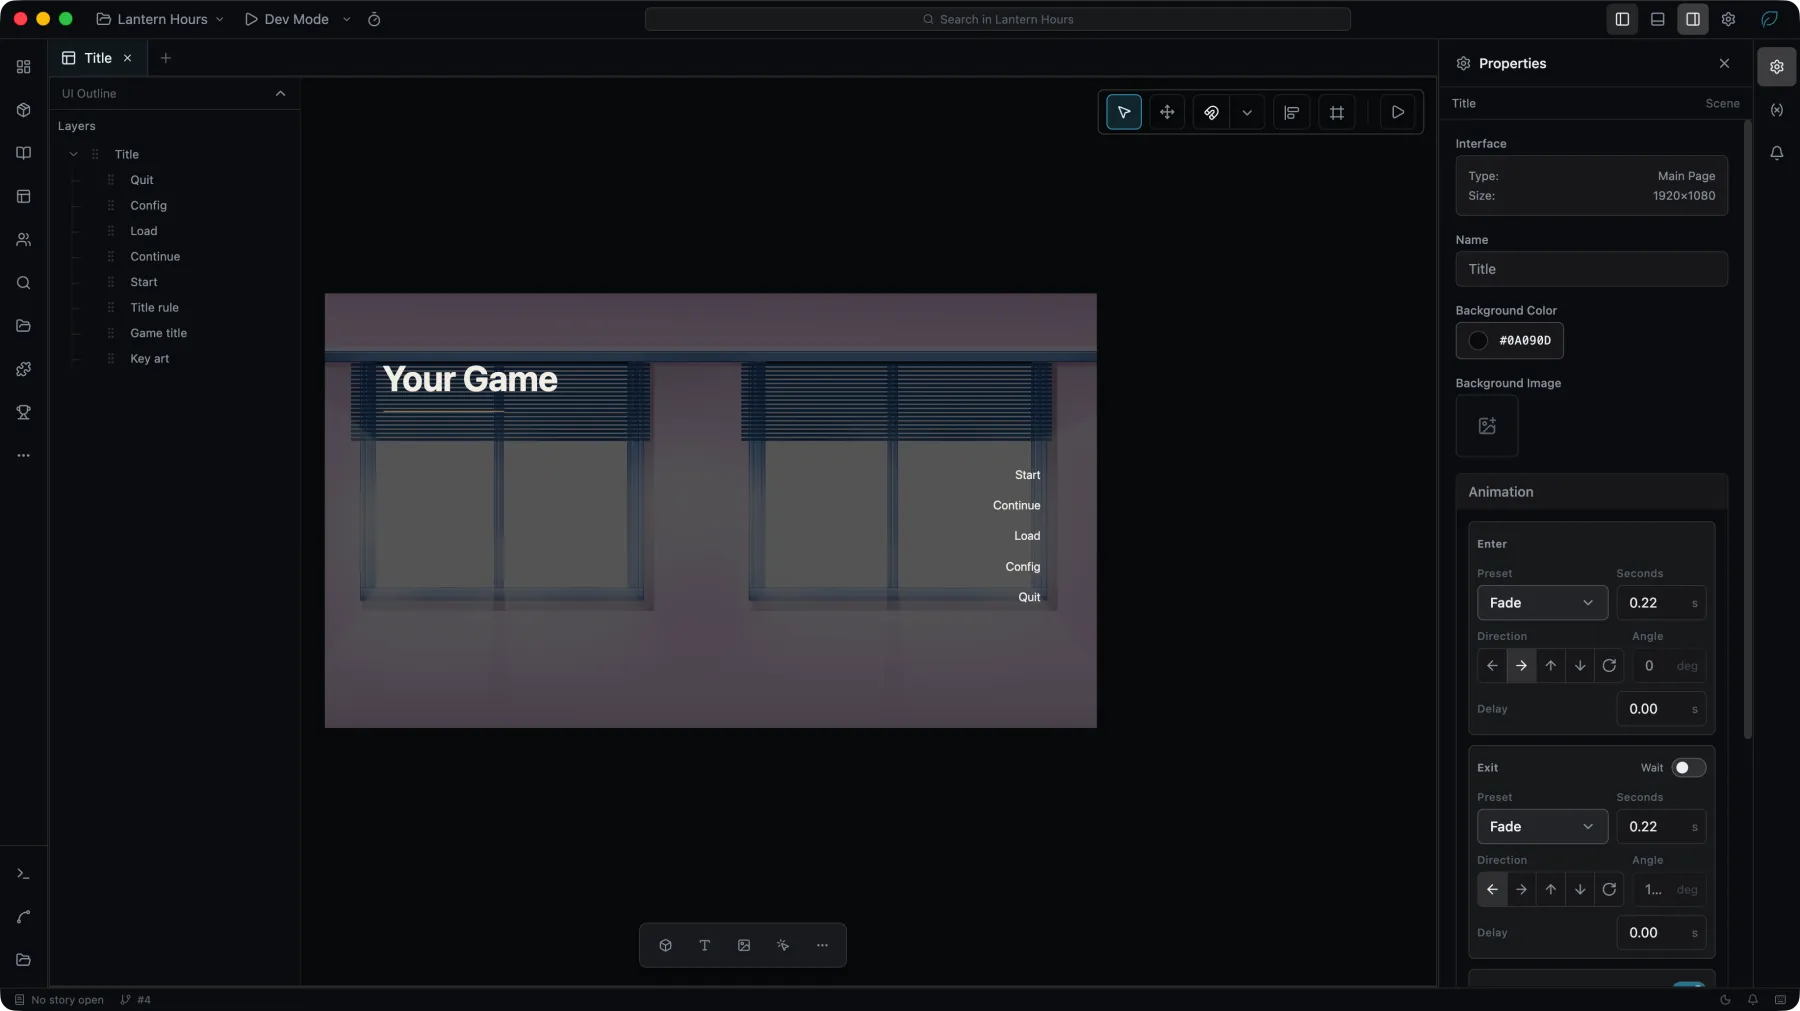
The left activity bar holds the main tools:
- Project — metadata, icons, dependencies, and project settings.
- Story — stories, chapters, and scenes.
- UI — pages, Game UI, and the component library.
- Characters — character forms and variants.
- Assets — project assets and groups.
- Localization — languages, translation, and review.
Open an existing project
Choose Open Project or Open Folder on the launcher, then select a directory containing a .nlproj file. To open an exported .nlspkg package, choose Add Project and import it from the Source step.